There is no way I can adequately explain the joy of going from a design on my screen to having a physical object in my hand. Designing fixes for little things around the house, or jigs and helpers for woodworking. Let's quickly go back to when I got hooked.
How I got hooked
I was visiting my friend Zach in California in December of 2024, and again shortly thereafter in January of 2025. I mentioned in December that I needed some way to mount a home automation sensor in a corner, and he found a file online and printed it out for me. This was neat, but to me it seemed like he had printed it overnight... I flew back home and tested it out and realized that it needed a corner cut out due to some existing wood trim, so it just sat in a drawer waiting for me to figure out how to cut out a corner.
In January I was back, and mentioned to him that I needed the corner cut out, and he showed me how he quickly updated the model in the slicer, and hit print. Twenty minutes later he handed me the updated version. 20 minutes. 20 minutes from seeing the cutout removed in the slicer, to holding an updated part in my hand.
Where 3D printing is today
Since then I bought my own 3D printer (and have acquired at least 10 more). I have gone deep (and there will be many more posts in the future), and maybe a little overboard as far as hobbies go, and my girlfriend does like to poke fun at my large amount of filament[1] that I now own (she also enjoys saying she is going shopping at the Delta filament store...).
3D printing is such a cool technology and today's 3D printers are mostly appliances, which is what makes it better. 3D printers from years gone by were tools only tinkerers would be able to use since they required constant maintenance, fixing, and "the paper test" to level the bed.
I joined the revolution late, but I am now fully on board at the right time in my opinion, so I just get the joy of going from model to plastic part in my hand.
Philips Hue underbed lighting
For years I've had a Philips Hue Lightstrip Outdoor 197 inch (discontinued as of 2026) mounted under my king bed frame, primarily because when I lived in a studio apartment in San Francisco I didn't have the room necessary to add all the lighting I wanted to be able to build some ambiance. King-size bed with underbed lighting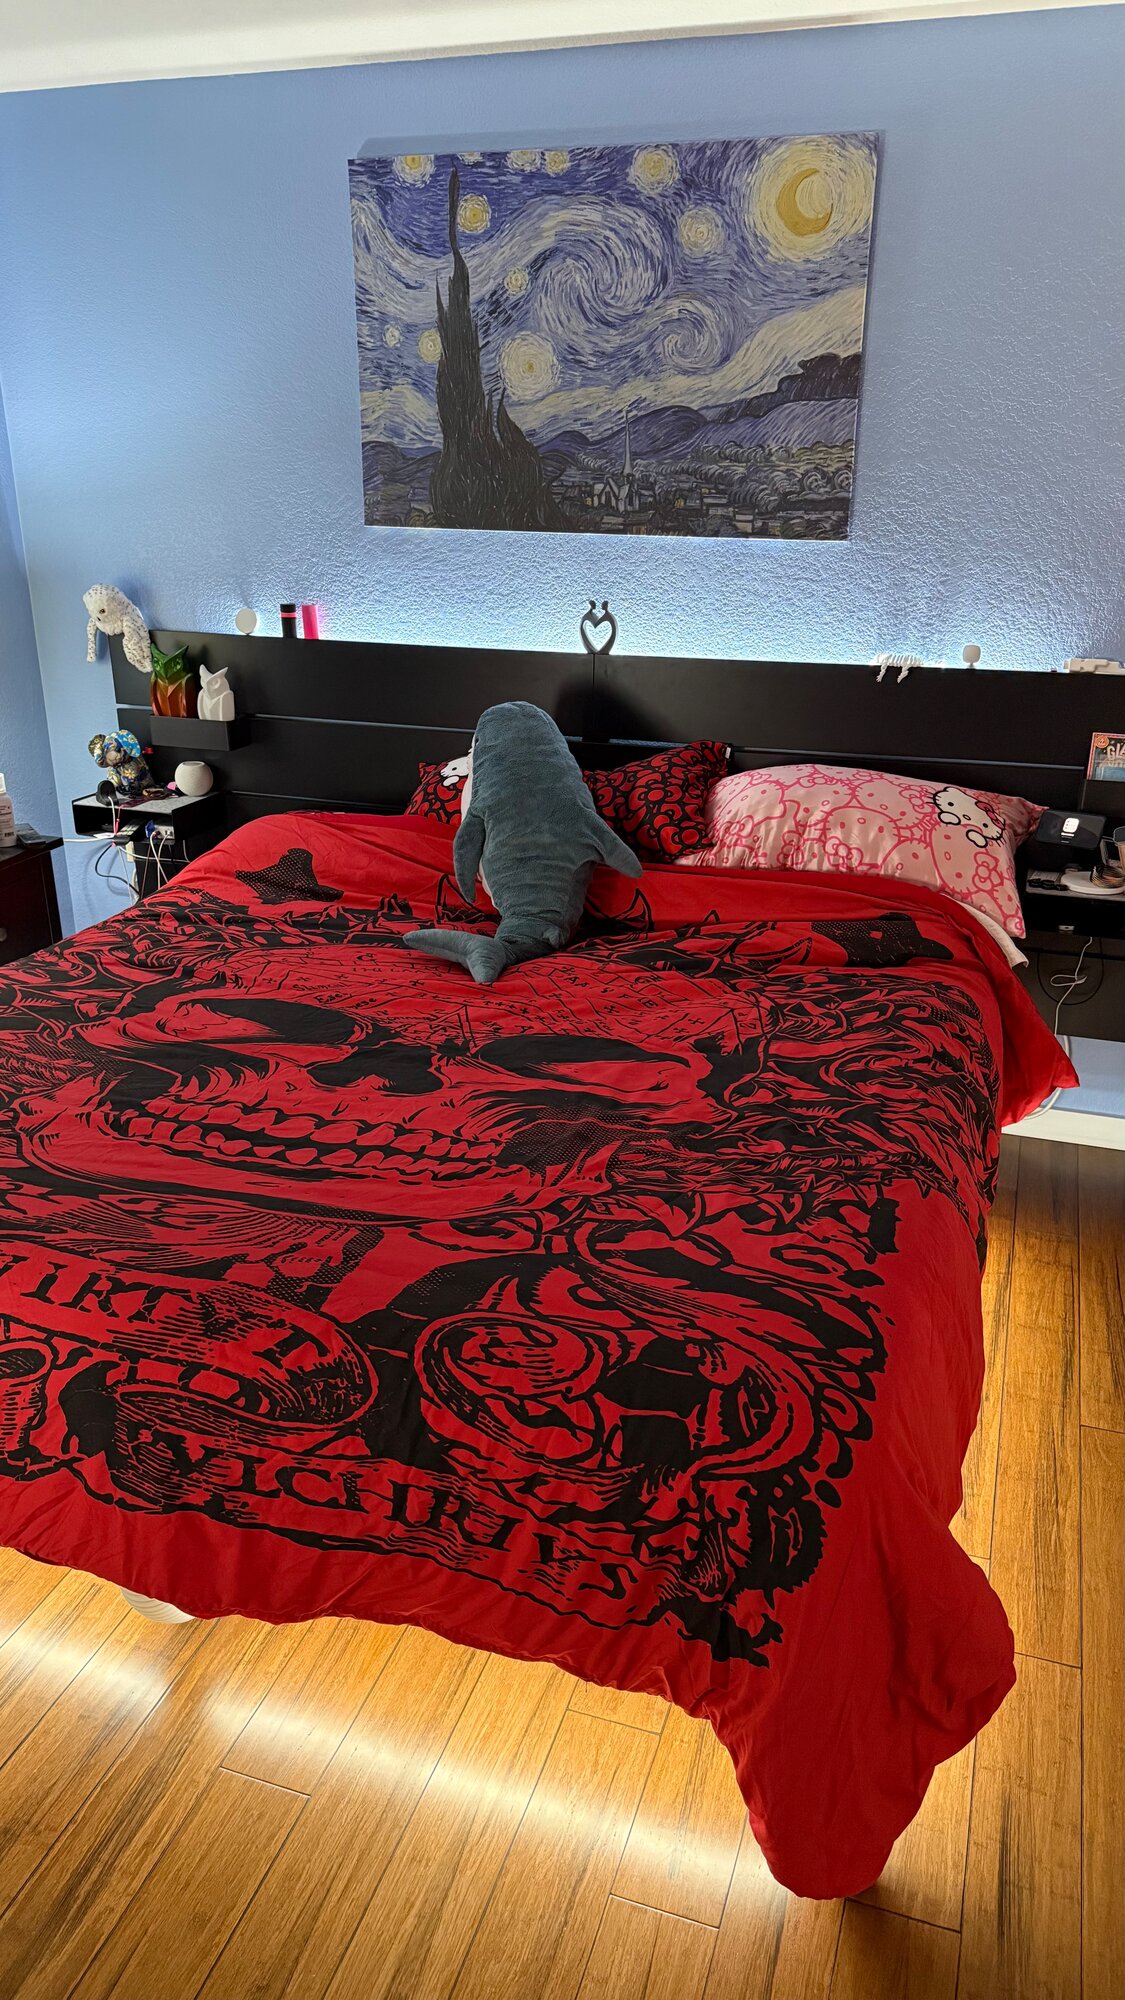
While the Hue Lightstrip came with little plastic mounting brackets, they were designed with screws in mind, and I wasn't sure I would be happy with the install, and the bed frame is metal so drilling into the frame would be a whole thing. So the light strip was installed using Velcro, sorry, hook-and-loop straps (thanks Monoprice). This was meant to be temporary but we all know how temporary ends up in production.
Replacing the straps
Sometime in July of this year, I finally had enough: the straps were collecting dust, the light strip wasn't really held in place very well and was sagging in certain places, and it finally hit that magic button in my AuDHD[2] head and it needed to be fixed.
Finding something that has been manufactured and is available on Amazon, AliExpress, or some other big retailer that would fit my needs was very unlikely, and trying to search for something online would be almost impossible. How do I describe that I want something that fits the metal beams of my bed frame, and then would fit a specific Philips Hue Lightstrip (which was meant for outdoor use)?
Ultimately what I wanted was fairly simple, and just needed to look a little something like this: Plastic bracket to hold Philips Hue lights under my bed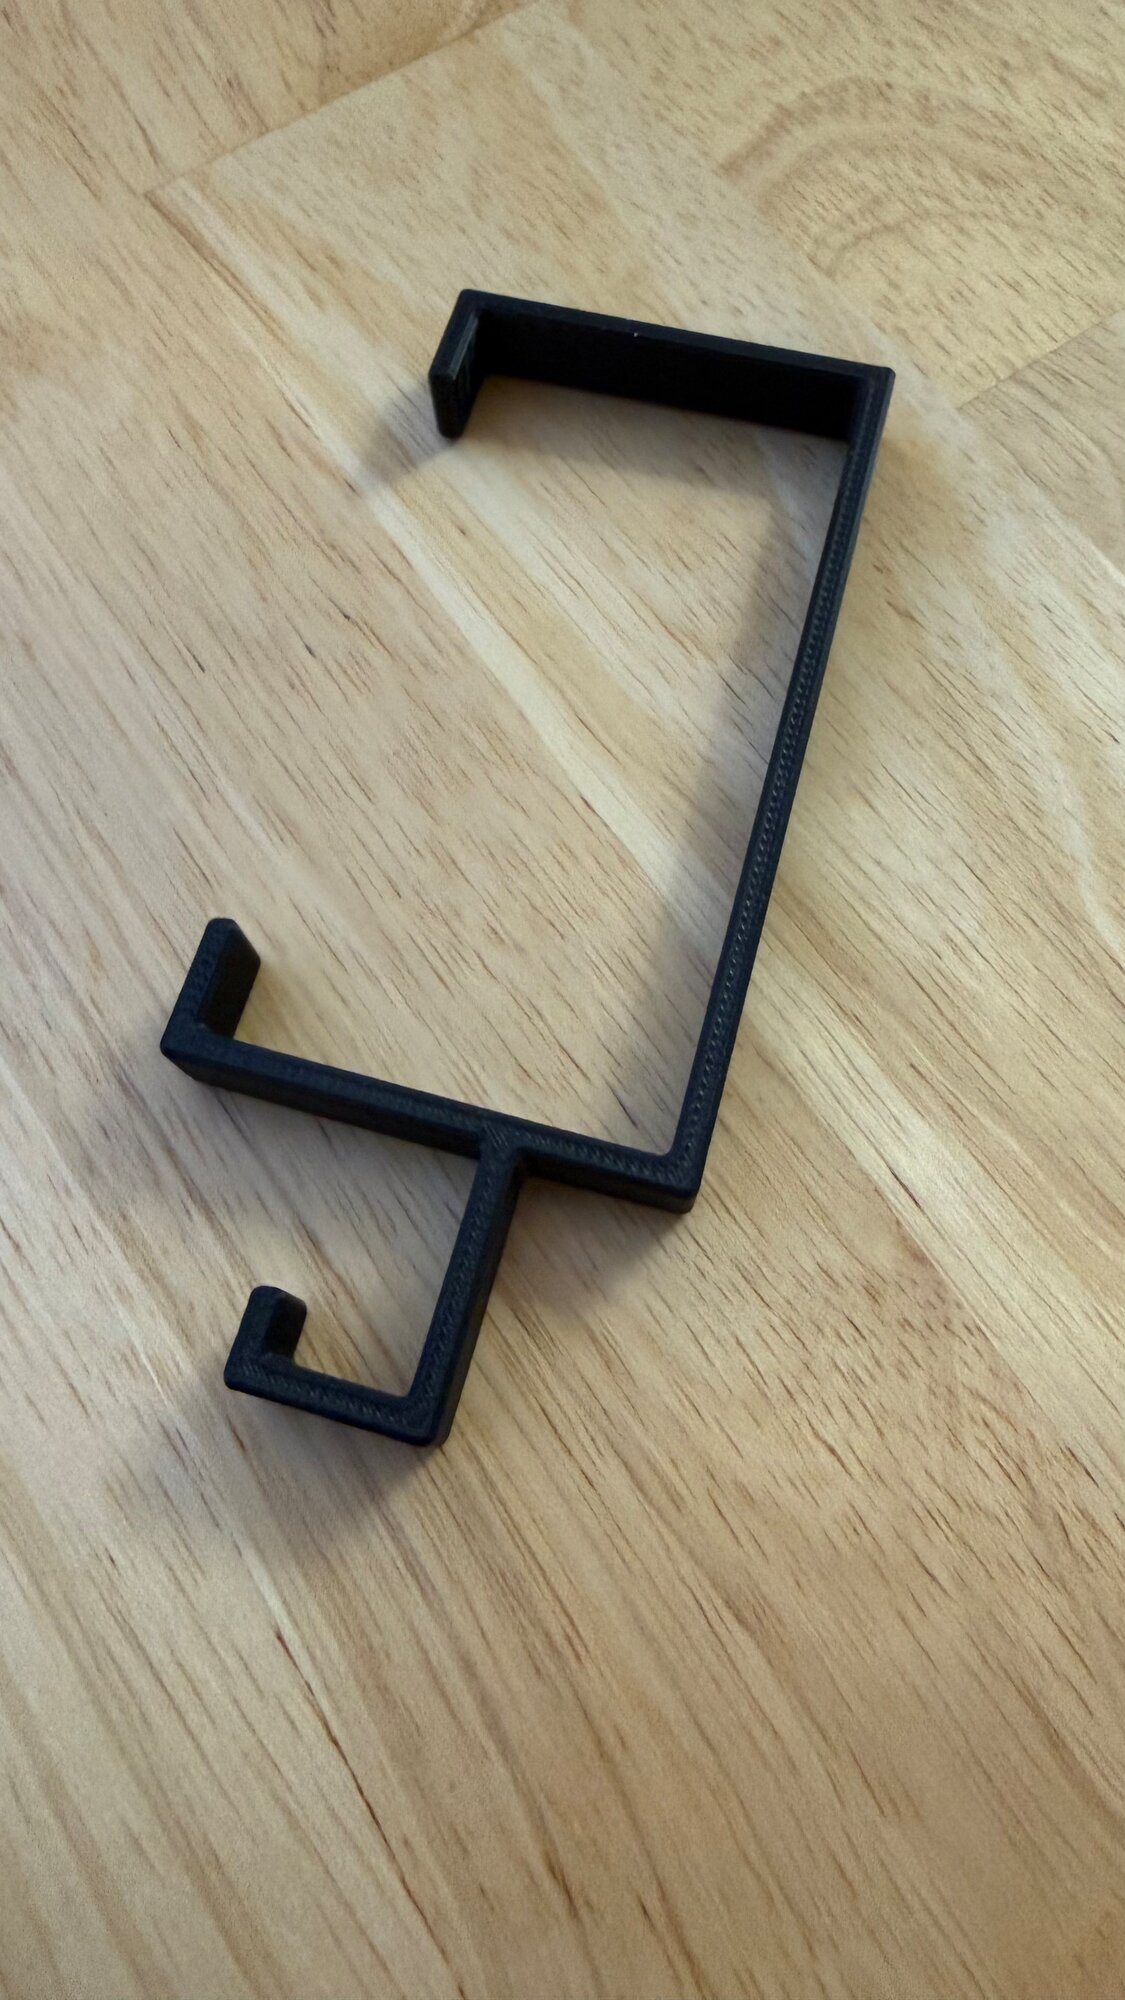
This would hook onto the bed frame, and allow me to clip in the light strip. It's such a simple design (and the aforementioned girlfriend called it utilitarian since it's so "square" and she would have thrown in some curves), and ultimately it costs less than 5 cents in plastic.
CAD design and 3D printing
I learned how to use Autodesk Fusion as it has a free-for-personal-use version, and I found an amazing Learn Autodesk Fusion in 30 days series on YouTube that taught me the basics and quickly got me up to speed with Autodesk Fusion.
So this was going to take the following steps:
- Take some measurements
- Create a sketch in Fusion
- Extrude (make it a 3D object)
- Add some fillets because sharp corners break easily when 3D printed
- Add some chamfers[3] to clean things up
- Slice and send to the 3D printer
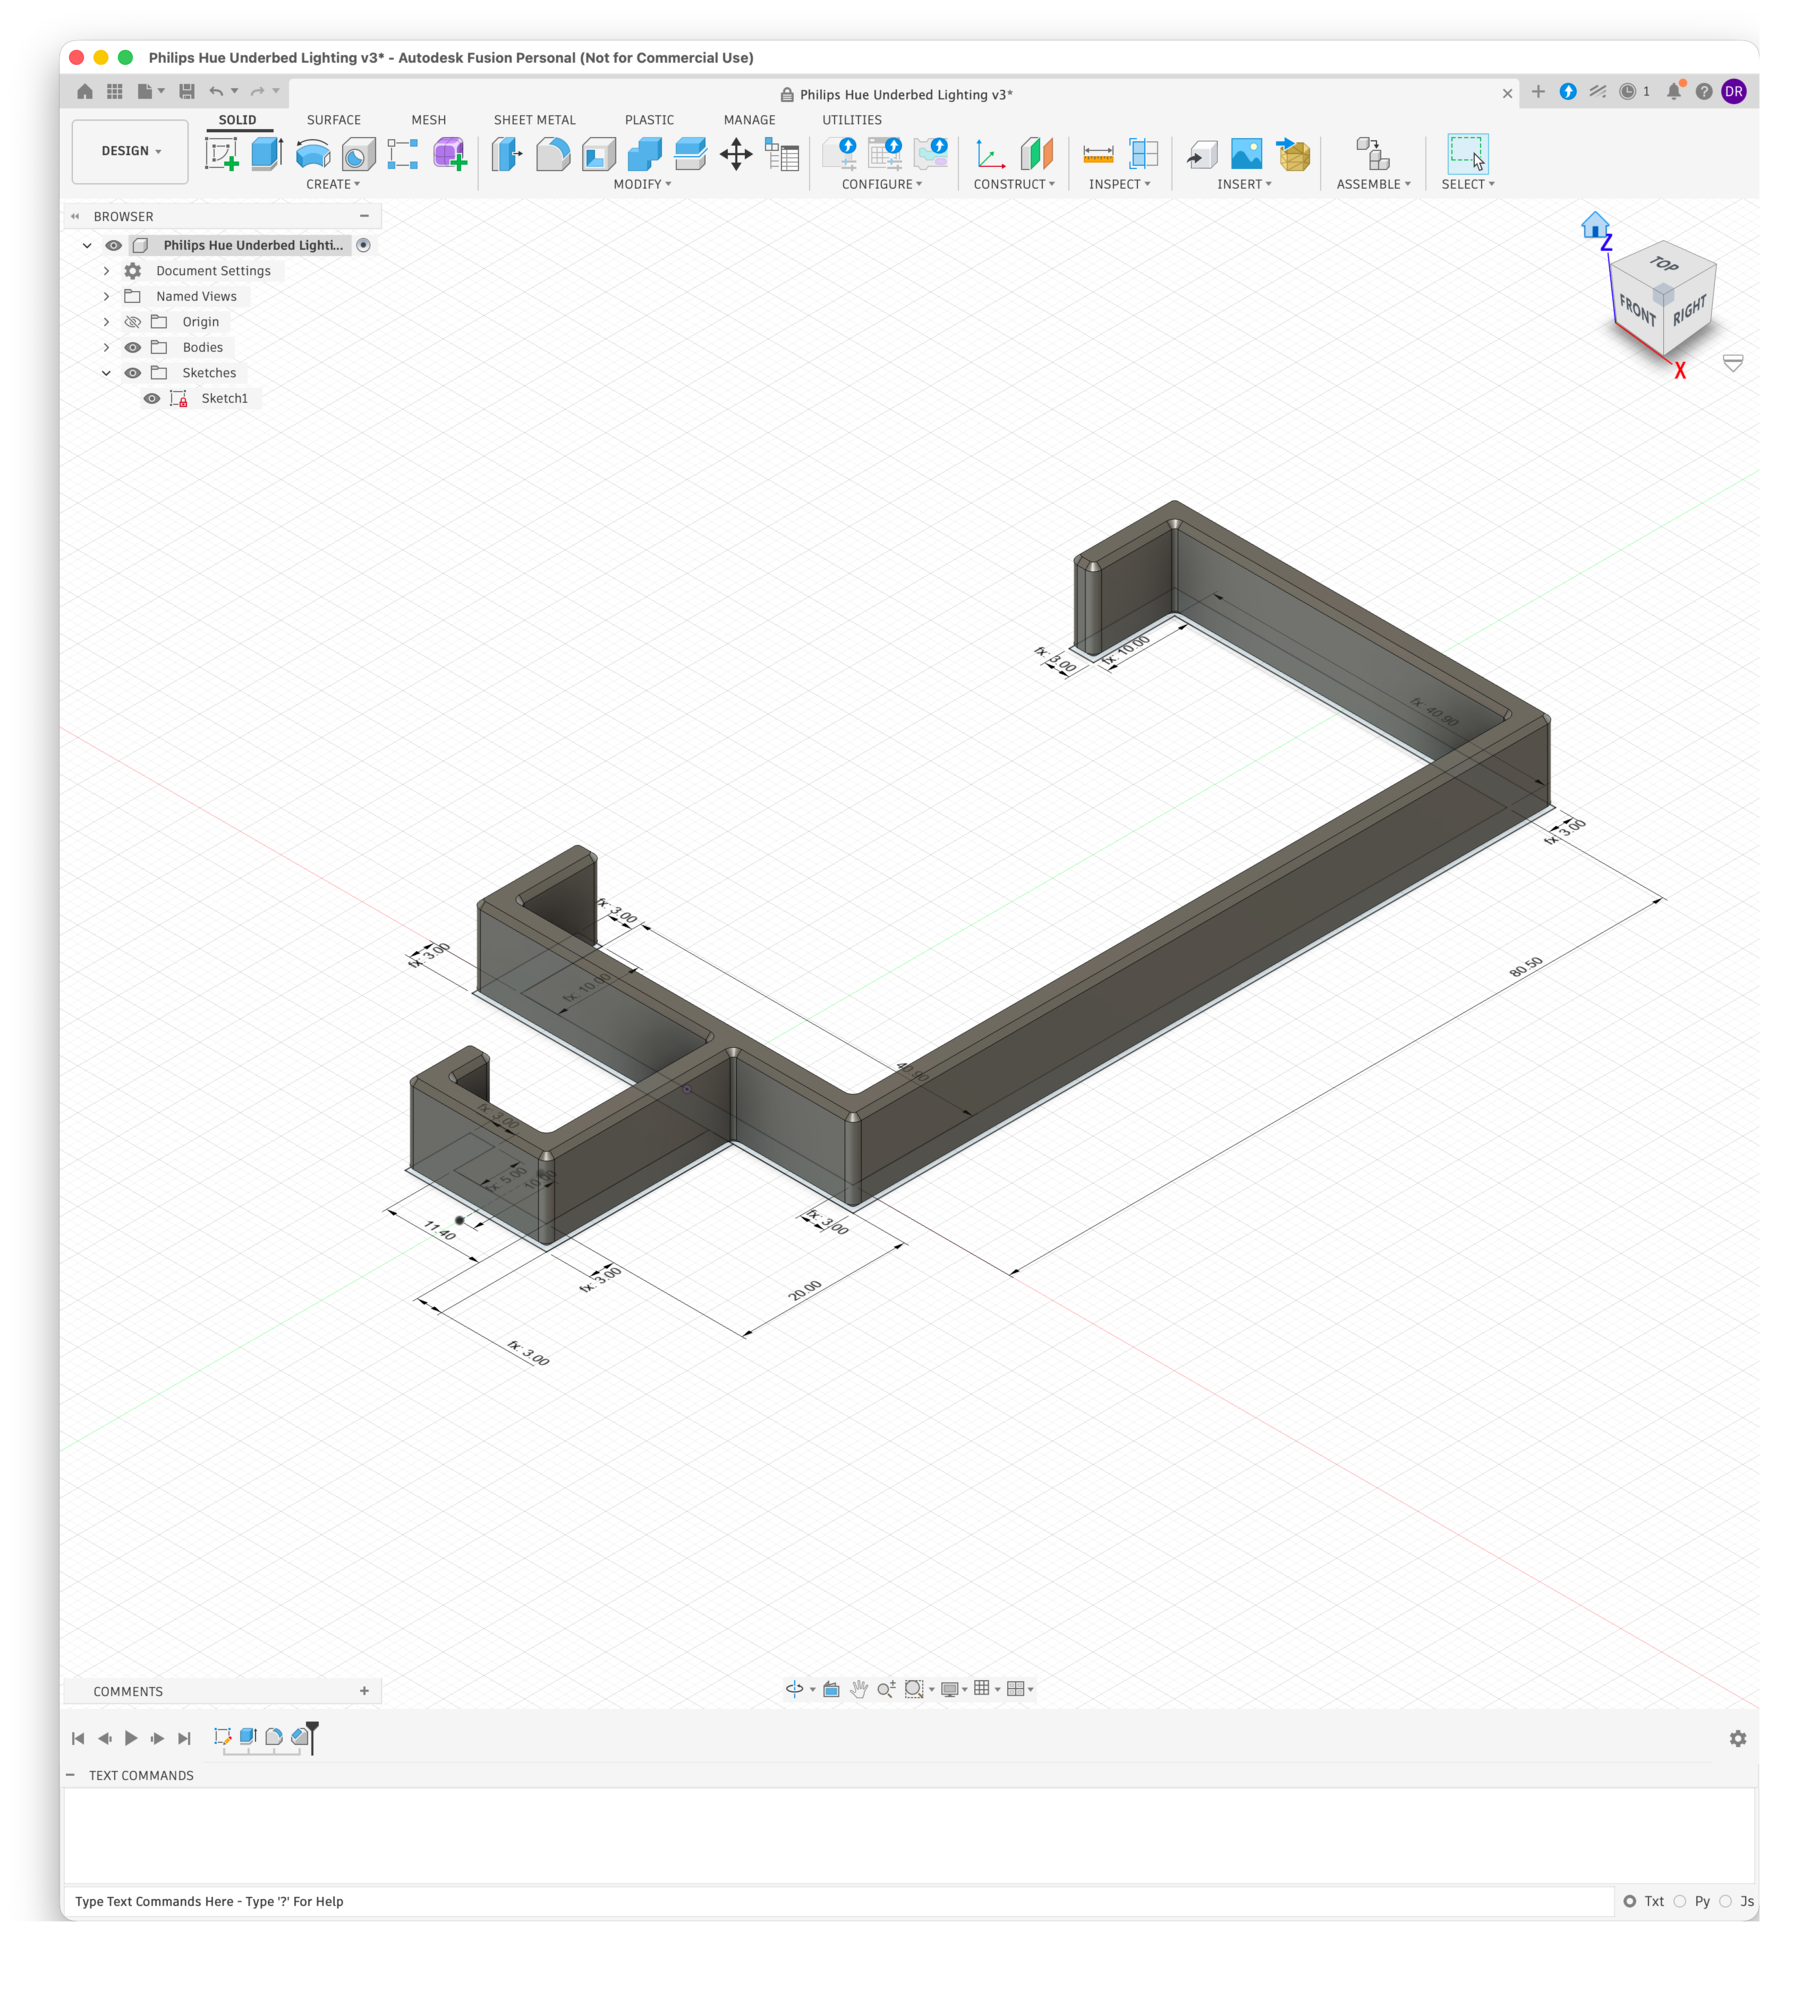
Bracket design in Fusion
This took me just under an hour to draw, design, validate measurements, and get the initial version 3D printed. Showcasing the history of this file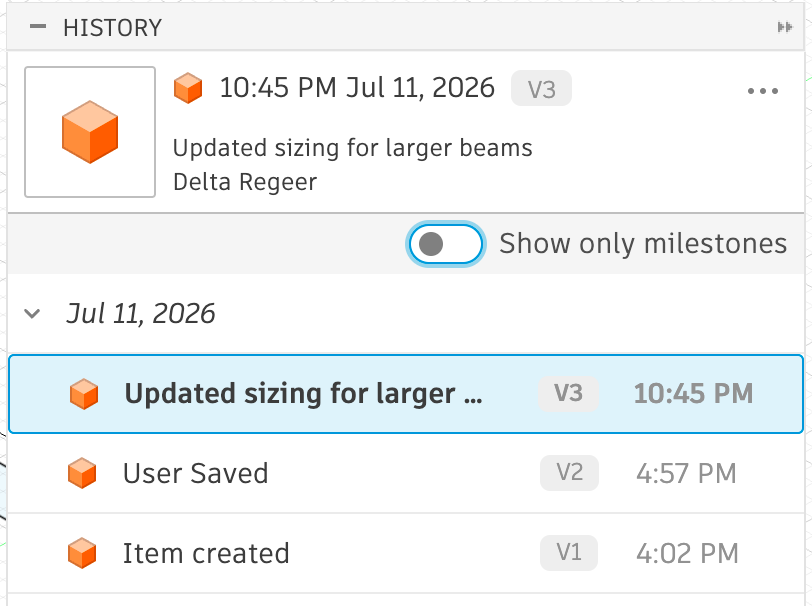
There was one final change after I had printed 20 of these brackets... and that was that not all of the metal frame parts were exactly the same size (I should have checked, and since the metal frame was only $100 on Amazon at some point in the past, manufacturing tolerances are probably "meh"). The next morning I had another 20 completed brackets, and was able to get the new larger brackets installed along the entire frame. Fully installed brackets with light strip mounted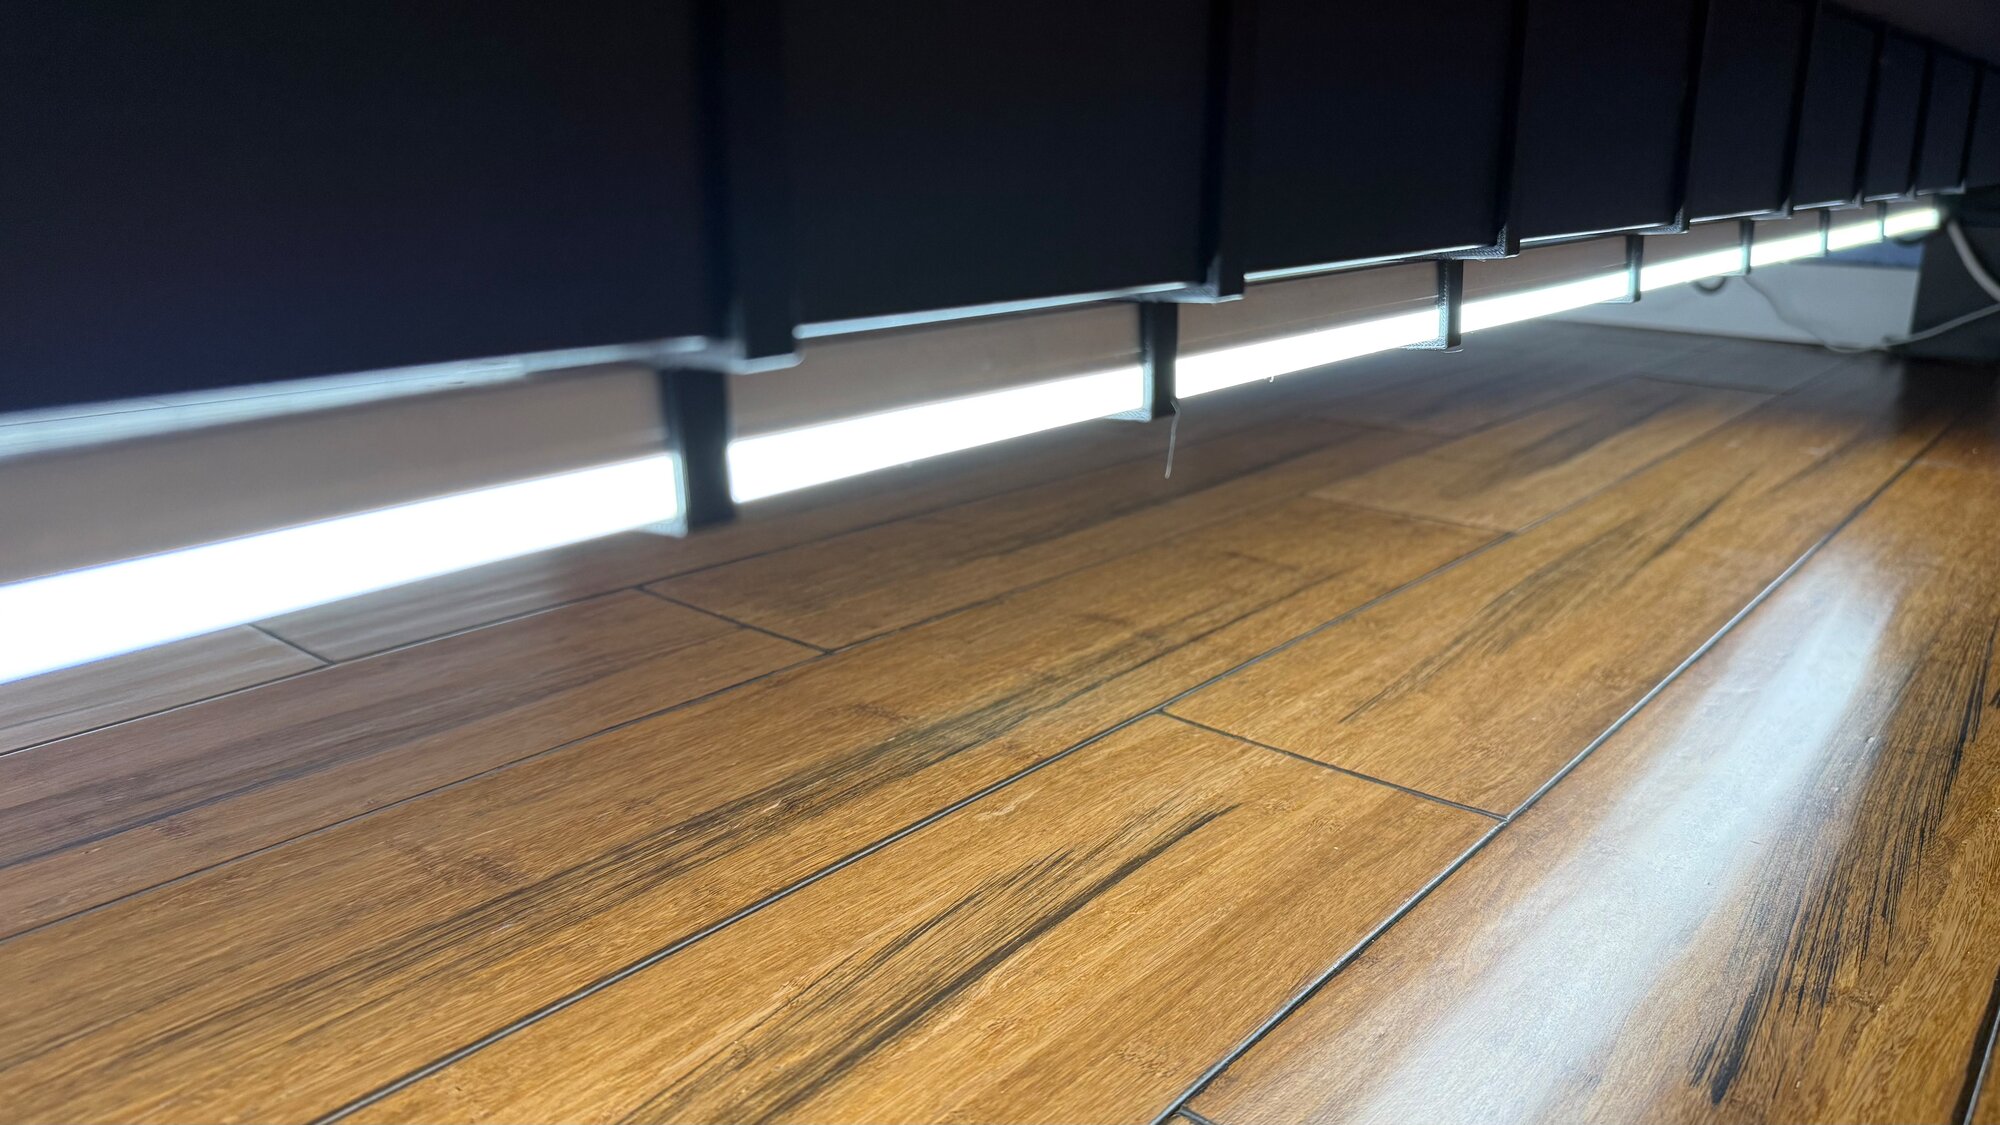
3D printing changed things
The speed with which I was able to go from CAD to physical object really has changed how I approach issues around the house. Yes, I've spent a bunch of time in Autodesk Fusion and understand 3D printing very well, and thus am able to solve this problem quickly and easily, but that doesn't change the fact that it is amazing how quickly I can create something new that won't ever be mass marketed and won't be worth making by a large company, and go from idea to fully executed in less than 24 hours.
I know some people get the same pleasure from building something from wood, or other materials, but the ease of going from problem to problem solved, where most of the time was spent waiting for plastic to be deposited in the right locations, is still magical to me. Timelapse showing the Bambu Lab H2C 3D printer printing the brackets
Also, sitting and watching a 3D printer work is mesmerizing, and this timelapse doesn't capture that! I joined a 3D Printing Deals Community Server on Discord that is dedicated to finding and posting cheap filament around the web. I now have a little over 500 kg of filament stored in my basement, which to be completely and utterly fair is a LOT of filament (although some of the people on that Discord have me beat!). ↩ AuDHD is a non-clinical term used to describe someone who has both autism spectrum disorder (ASD) and attention deficit hyperactivity disorder (ADHD). Officially this would be two different diagnoses, but members of the overlapping community have merged them into a single version. ↩ "Chamfers are what separate us from the animals" — Ancient Machinist Wisdom ↩